How to scan an eSIM from a stored photo in iOS 17
iOS 17 introduces a new feature that allows you to scan an eSIM from a stored photo. This is a convenient way to activate an eSIM if you don’t have access to a QR code scanner or if you want to keep a copy of your eSIM QR code on file.
To scan an eSIM from a stored photo in iOS 17, follow these steps:
- Open the Settings app.
- Tap Cellular.
- Tap Add Cellular/Data Plan.
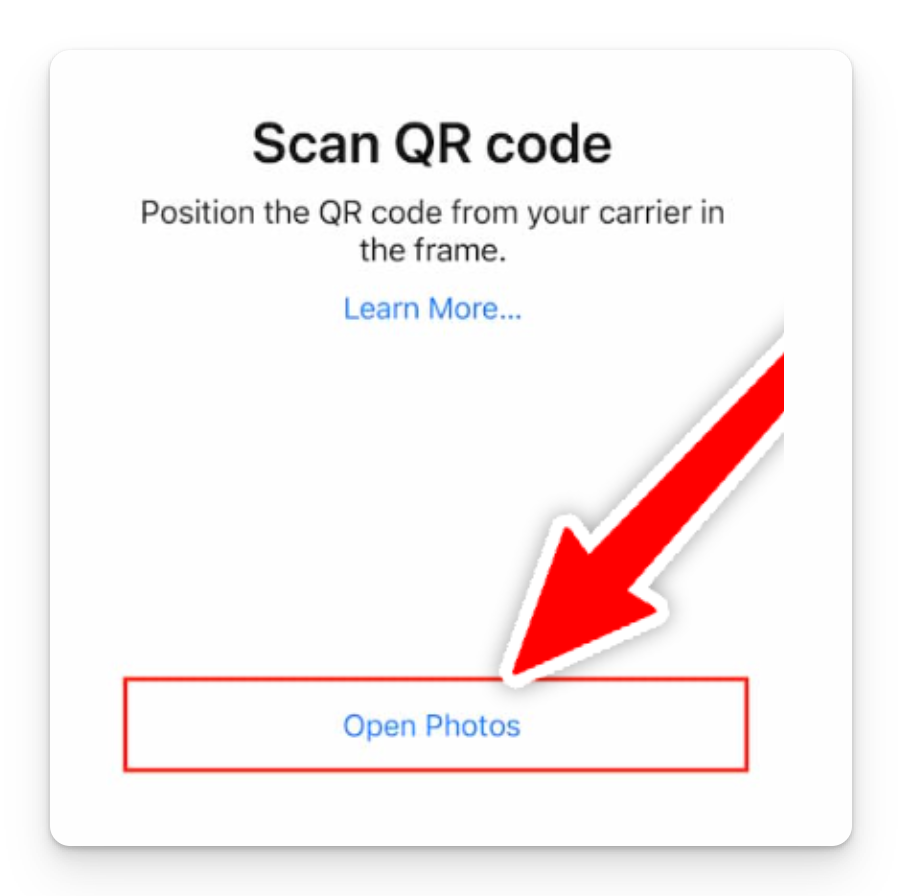
- Tap Scan QR Code.
- Tap Open Photos.
- Select the photo of the eSIM QR code from your library.
- Tap Scan.
Your iPhone will scan the QR code and activate the eSIM. You should see a message that says “Your eSIM has been activated.”
Tips:
- Make sure that the photo of the eSIM QR code is clear and well-lit.
- If you’re having trouble scanning the QR code, try zooming in or adjusting the brightness of your iPhone’s screen.
- You can also try scanning the QR code from a different angle.
Benefits of scanning an eSIM from a stored photo:
- It’s convenient: You don’t need to have access to a QR code scanner or to print out a copy of your eSIM QR code.
- It’s secure: You can keep a copy of your eSIM QR code on file in case you need to reactivate your eSIM in the future.
- It’s flexible: You can scan an eSIM QR code from any photo, regardless of where or when you took it.
Overall, the ability to scan an eSIM from a stored photo is a valuable new feature in iOS 17. It makes it easier and more convenient to activate and manage eSIMs.